If you make podcasts, run a small business, or post videos online, you know the power of a strong voice intro. But not everyone has a mic or a quiet room to record. Some people also feel nervous speaking on camera or don’t have time to record extra lines.
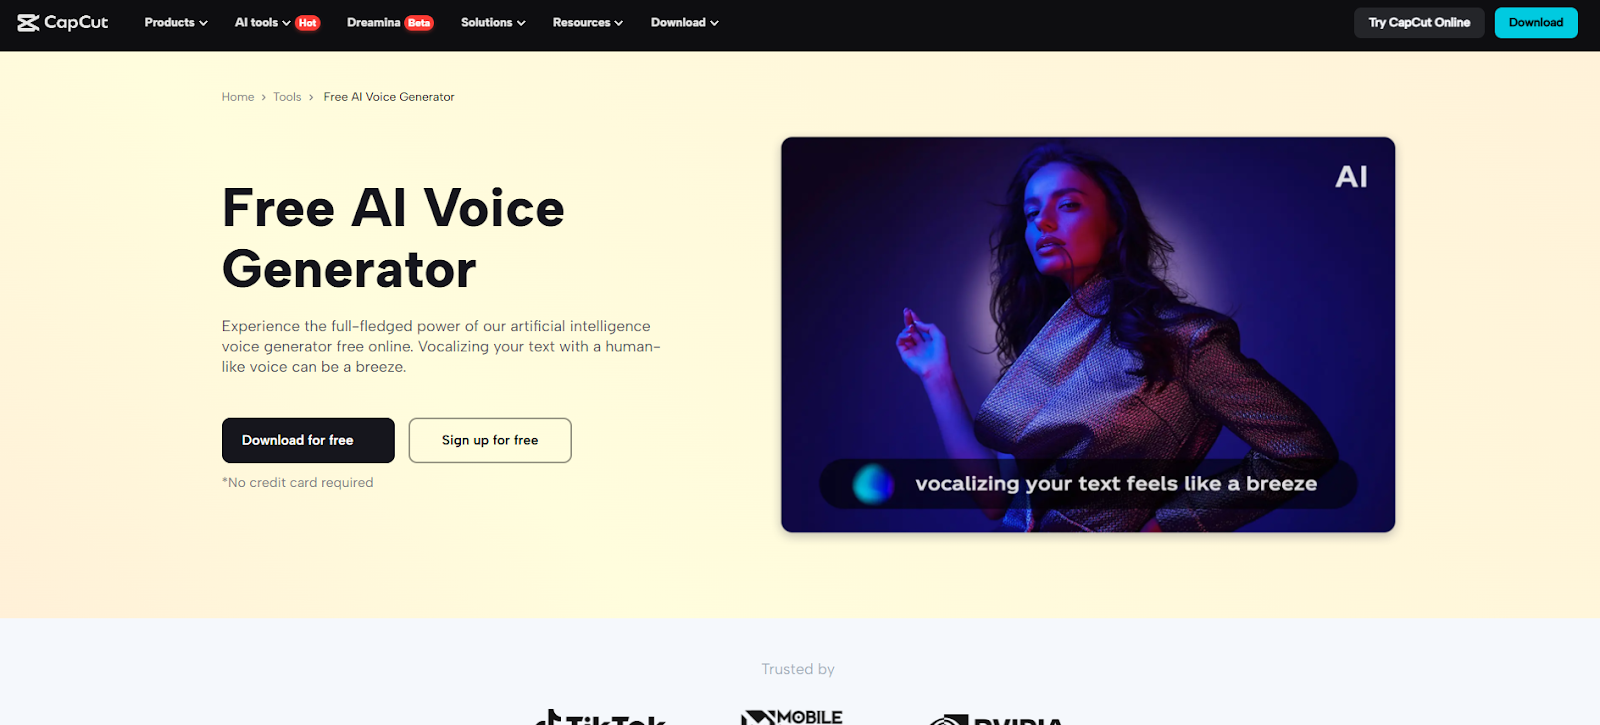
That’s where the CapCut PC editor comes in handy. It has an AI voice tool that turns your written script into a natural-sounding voiceover. You don’t need to record anything yourself. Just type your lines and pick a voice. No studio. No mic. No stress.
Please note that CapCut PC is not fully free. Some voice styles and advanced features need a paid plan.
This blog will walk you through how to use the AI voice tool inside CapCut PC to make short, sharp podcast intros in minutes.
Why Use AI Narration for Podcast Teasers?
Voice is what makes a teaser feel real. It adds tone, mood, and energy in just a few seconds. A good voice intro can grab attention and spark interest right away.
But many podcasters and small creators don’t have time to record extra clips. Some don’t have a mic. Others don’t feel ready to speak on their own. That’s where an AI voice generator helps. It turns your text into clear, lifelike speech in just a few steps.
This is a great choice for solo podcasters, new creators, or anyone without voice talent on their team. A voice teaser draws listeners in, but great branding makes them remember you. That’s why many creators pair tools like CapCut with AI logo generators such as AI Logo Maker. It lets you create a custom logo in minutes, helping you build a recognizable brand identity across your podcast artwork, teaser videos, and social media thumbnails.
There’s no need for long edits or studio time. You can make changes fast and test different tones like calm, bold, or deep inside the CapCut desktop video editor.
This helps you sound pro, even with a short script and no extra tools. It's also great if you post new content often and want it to feel polished.
Some AI voices and high-quality exports do need a paid plan, so it’s good to check what’s included in your version of CapCut PC.
Key Benefits of Using CapCut PC’s AI Narrator
The AI narrator is built right into the CapCut desktop video editor, so there’s no need to use other tools. You just type your script, and it turns into a clean voiceover in seconds.
You can choose the tone that fits your message: serious, cheerful, or calm. It also lets you adjust the pitch and speed, which helps match the voice to your teaser’s style.
There are many voice styles to pick from. You’ll find calm, bold, energetic, or youthful tones. This gives you room to explore and find what sounds right for your audience.
The tool supports many accents and languages. So, if your podcast has global listeners, this helps you reach more people with ease. For creators who post often, this feature saves time. You can use it to make fresh teasers every week.
You can also use an AI video upscaler to improve the teaser’s look before you share it. This keeps your content sharp on all platforms.
Some voice styles and audio options need a paid plan. But even with the basics, you can bring your words to life, without recording a single line.
How to Install CapCut PC for AI Narration Features
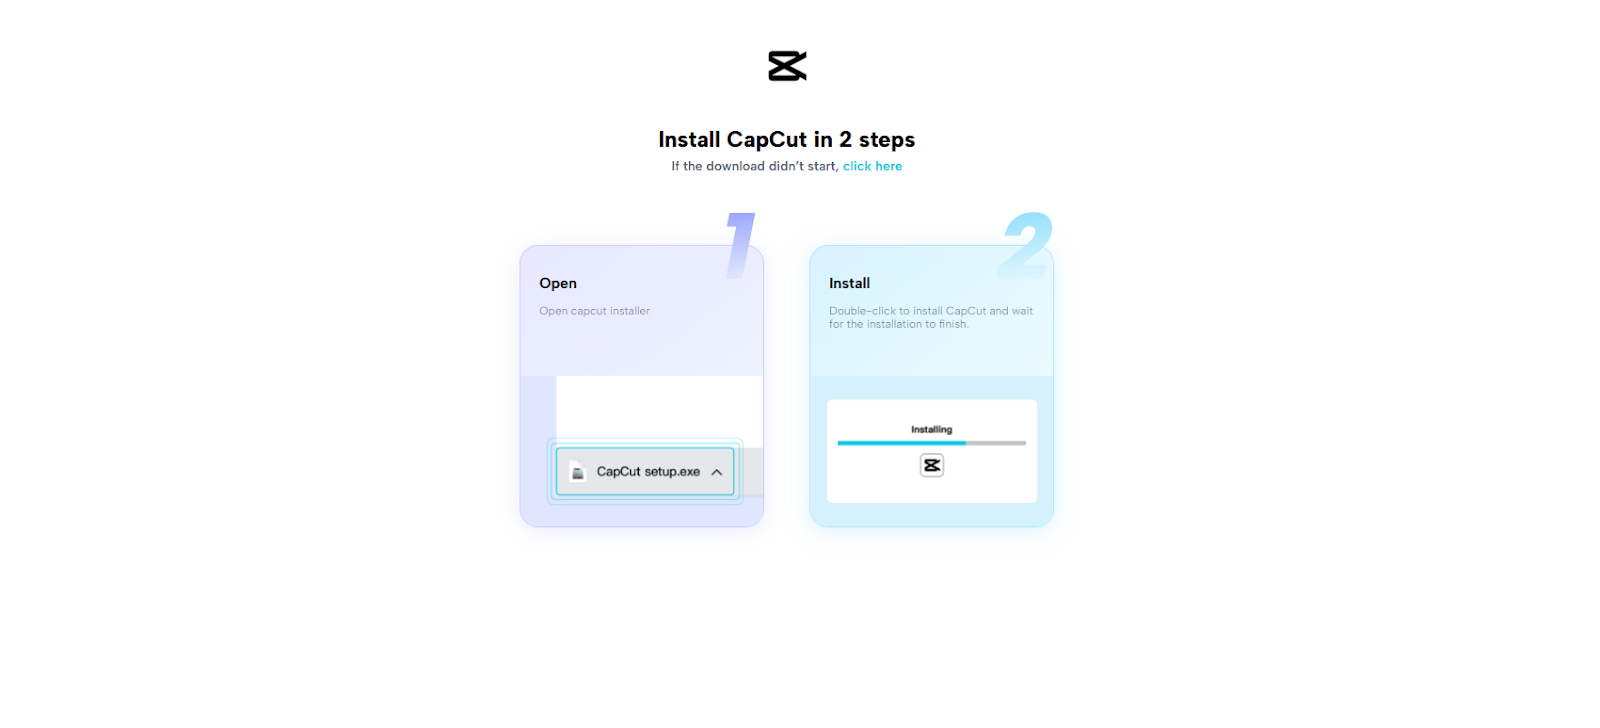
To get started, visit the official CapCut website and download the CapCut PC video editor. Avoid downloading it from other sites. This keeps your device safe from fake or broken files.
Install the software on your PC or laptop. After setup, open the app. You’ll need to sign in or create an account to access the editing tools. Keep in mind that CapCut PC is free to download, but some features require a paid plan. Some features, like certain voice styles and export settings, need payment.
Once inside, open a project. On the right panel, you’ll find the voice tool listed under the “Text-to-Speech” option.
Steps to Create a Podcast Teaser with CapCut PC’s AI Voice Narrator
Step 1: Import a Visual Clip or Static Background
Open the CapCut desktop video editor. Click “Import” at the top left to upload a video, image, or background. Drag your media into the timeline below.

Step 2: Add Your Intro Text
Click the “Text” button from the top menu. Choose “Default Text” or “Add Text.” Type your teaser script in the text box. Keep it concise and straightforward.

Step 3: Convert to AI Voice
Choose the text that you've typed. On the right-hand panel, click on "Text-to-Speech." You will see a list of voices, soft, quick, deep, or lively. Choose one that matches your podcast tone.
You can also fine-tune pitch and speed according to your style. Some of the voices in this text to speech AI feature belong to the paid plan.

Step 4: Match Voice Timing with Visuals
Use "Split" or "Trim" on the timeline to align your voiceover with your clip or music. Drag the AI voice to match it with your visuals on the timeline.
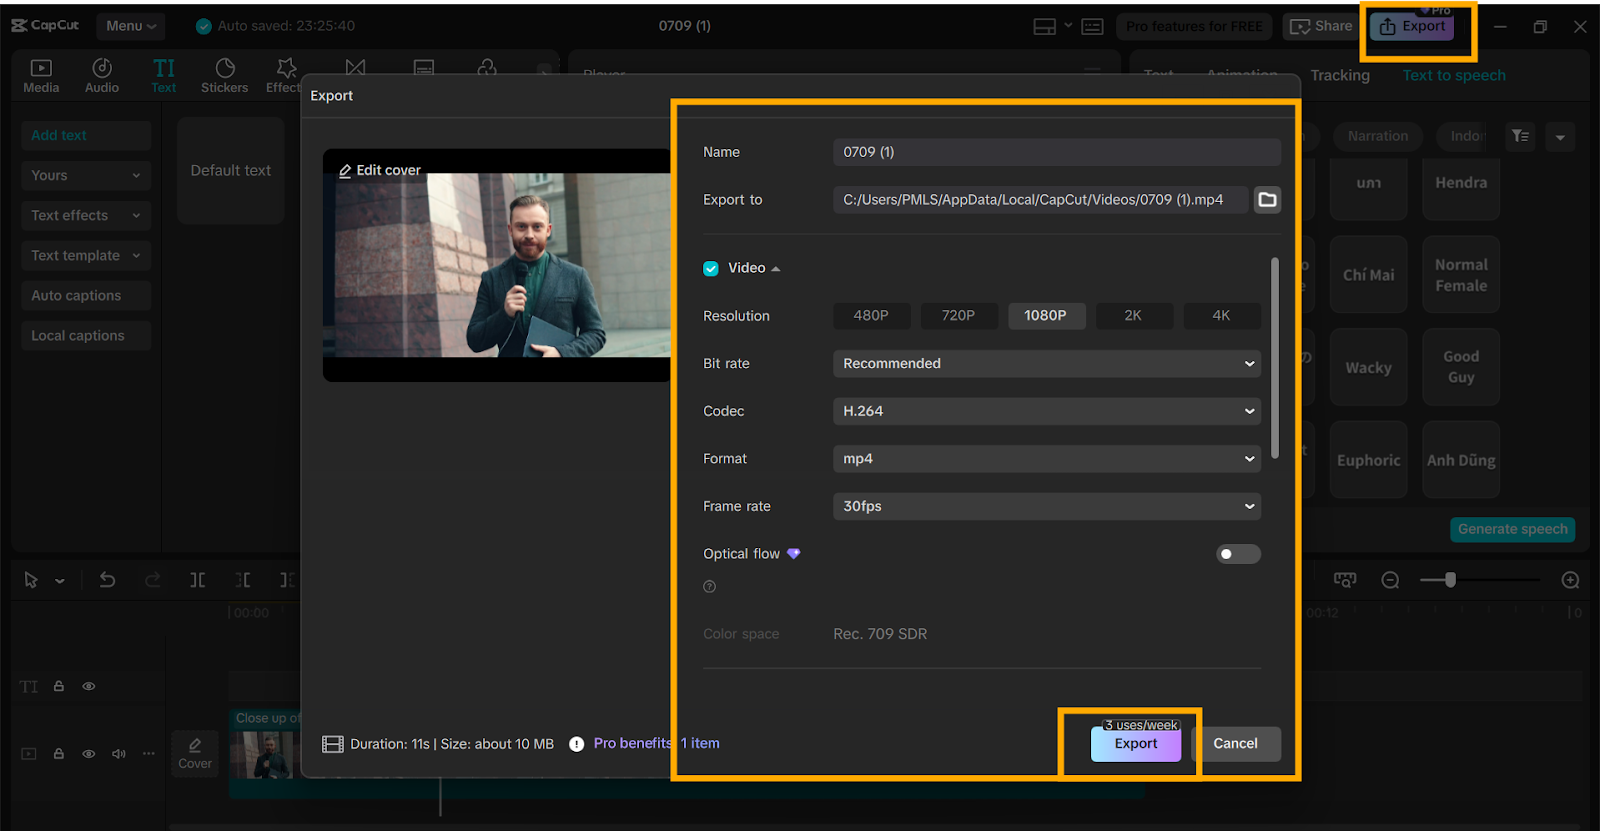
Step 5: Finishing Touches and Export
Click the "Audio" tab to include music or a jingle. Insert your podcast logo or title text. Choose your export quality, then click “Export” to save and share your teaser.
Conclusion
Using the CapCut desktop video editor, you can make podcast trailers without recording your voice or using a microphone. It helps you work faster, stay on brand, and keep your content sharp and clear.
You can try different voice tones, layouts, and formats, all from one place. It’s a simple way to bring your ideas to life without extra gear.
Make sure to download CapCut PC only from its official site. Start your next teaser now, let the AI voice speak for you and pull your audience in from the first second.
.svg)